How to change Account name in Windows 10
The account name helps to identify the user while logging in Windows 10. This tutorial shows how you can change account name for both, Microsoft and Local Accounts.
How to Change account name in Windows 10
- For Microsoft Accounts, change the name online in the Microsoft Account Settings
- For local account, enter the command wmic useraccount where name=”Current Name” rename “New Name” in an elevated Command Prompt
Applies to All Windows 10 Versions
Method 1: Change Account Name in Windows 10 online for Microsoft Accounts
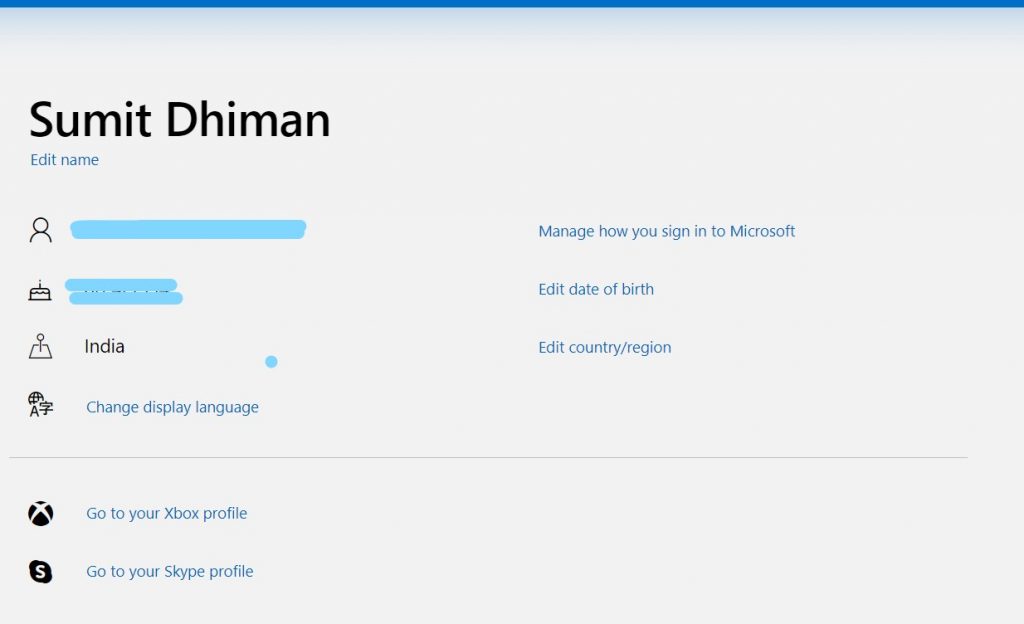
If you sign in with Microsoft Account, you need to change the name in Microsoft Account Settings as it gets synced to your PC. Here are the steps:
- Go to https://account.microsoft.com/profile and sign in.
- Click Change Name beside the current name and change the name.
- After a while, the change would be propagated to your PC.
The change may take some hours to progress, keep the PC connected to the Internet.
Method 2: Change the account name for a Local Account.
For a Local Account, you can change it using a number of options, which includes Control Panel and others. As Control Panel is difficult to find, the easiest way is to use the Command Prompt.
- Type CMD in search, right-click it, and choose Run as Administrator.
- Get the current account name using the following command:
wmic useraccount get fullname, name
- Then, to change the name, use the following command. Replace “Current name” with the output you get in Step 2, and “New Name” with the name you want to.
wmic useraccount where name=”Current Name” rename “New Name“
These ways discussed above can help you change the name in Windows 10 easily. Let us know in the comments for any help.
