Windows 11, the next release of Microsoft Windows, is set to be released later this year. This article discusses how to uninstall Windows 11 and roll back to Windows 10, if desired.
Windows 11, like feature updates to Windows 10, provides a specific 10-day Window if things are not working as expected for you. If your PC is not working well, but you can reach the desktop, you can see the steps below to Go back to Windows 10.
Method 1: Uninstall Windows 11 from the Settings app.
See the steps below to uninstall Windows 11 and go back to Windows 10 using the Settings app.
- Open the Settings app. Go to System>Recovery.
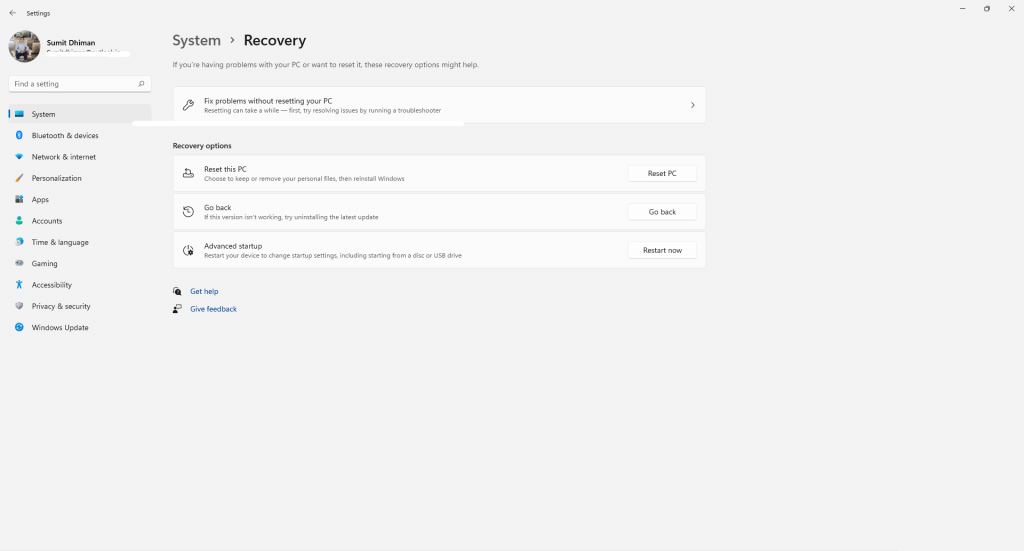
- Under Recovery options, click Go back to the previous version.
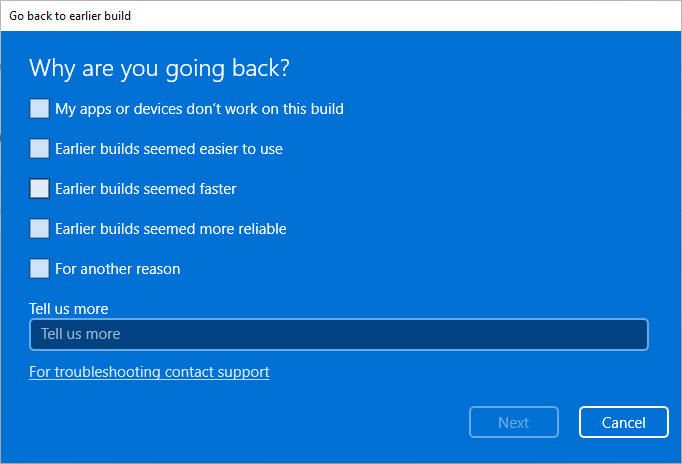
- Select the reason why you are going back.
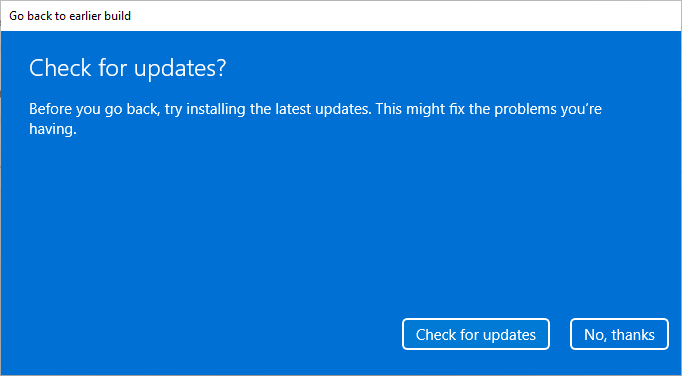
- Click No thanks to skipping checking for updates first.
- Click Next. Your programs would be removed, which you installed after upgrading to Windows 11.
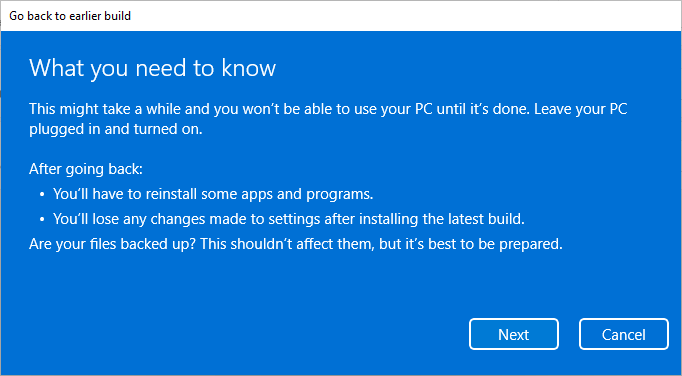
- Click Next for the password prompt.
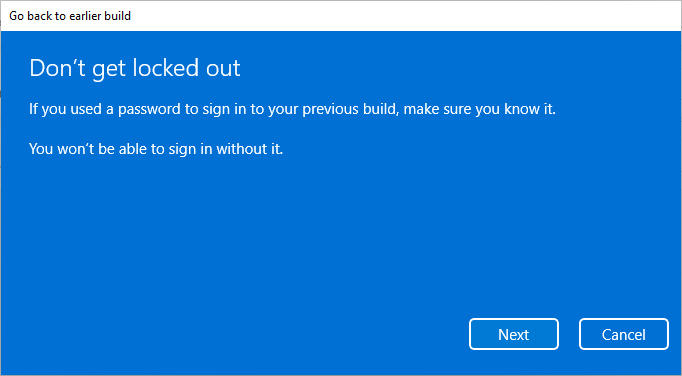
- Click Go back to the earlier Build.

The PC would restart, and it would take a while to roll back to Windows 10. You would see a screen that says “Restoring your previous version of Windows.”

Method 2: Rollback from the Recovery environment.
- Perform a hard shutdown of Windows when the boot screen is shown. Do this two times.
- On the third time, you should see a Windows 11 Recovery Environment.
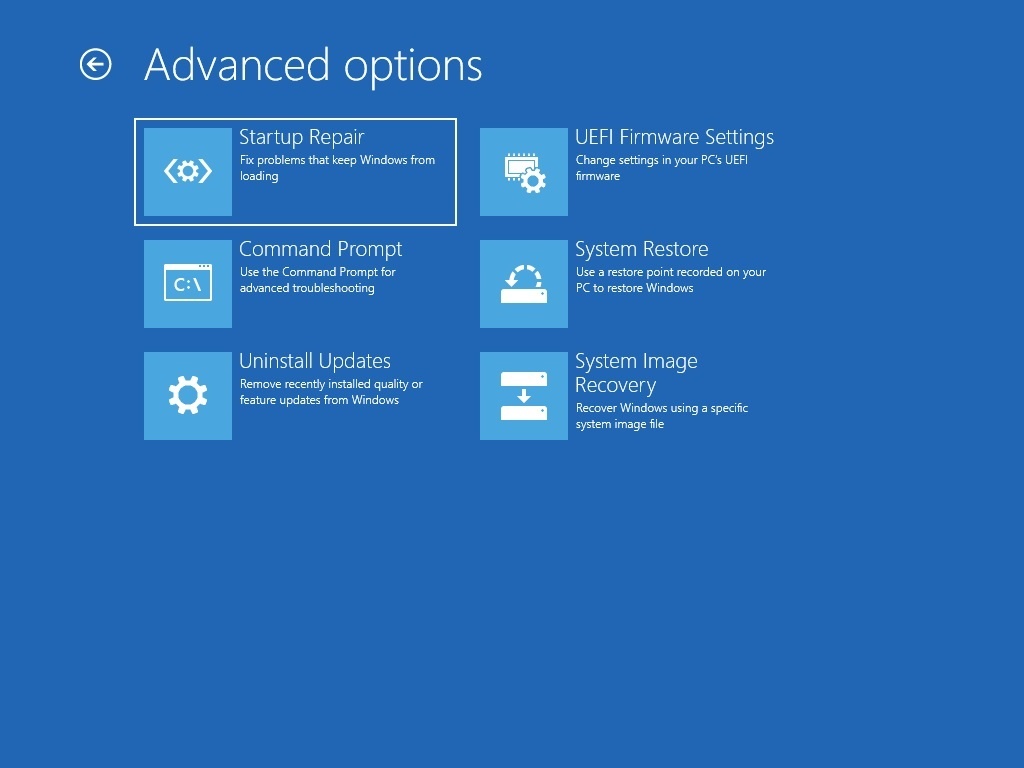
- On the screen, click Advanced Options.
- Click Troubleshoot.
- Click Uninstall updates.
- Select Uninstall latest feature update.
If it has been over ten days since you upgraded to Windows 11, the options are limited for you. To go back to Windows 10, you would need to perform a custom installation of Windows that would remove everything unless you backed up. You need to create an Installation Media using Windows 10 Media Creation tool, start your PC from it and choose custom installation.
These steps can help you to go back to Windows 10 from Windows 11 if you want to.


