This article helps you add Network drive in Windows 11 using CMD, aka Command Line. This is particularly helpful in business scenarios, where you have to map a network drive for several computers of the Server or another PC. Concurrently, in that case, a batch script using CMD should help.
Table of Contents
Add Network Drive in Windows 11 using CMD
To add a network drive letter, you must first open a command prompt as an administrator. For that, do the following:
- Type “cmd” in the Windows Search.
- Right-click the result and choose Run as Administrator.
- Alternatively, Press Win+R and type “cmd”. Press CTRL+SHIFT+Enter keys to open as elevated.
Before using the command, if you are running Windows 11 24H2, please refer to this article and follow the provided commands to enable Network Mapping, as changes to the Network stack in Windows 11 24H2 require this step.
The standard command to add a network drive is like this:
net use [drive letter]: \\[server]\[sharedfolder]
[drive letter] is the drive letter you want to use on the client.
[Server] is the PC name where the drive is located, and subsequently, the path is added.
For Example, see the following picture:
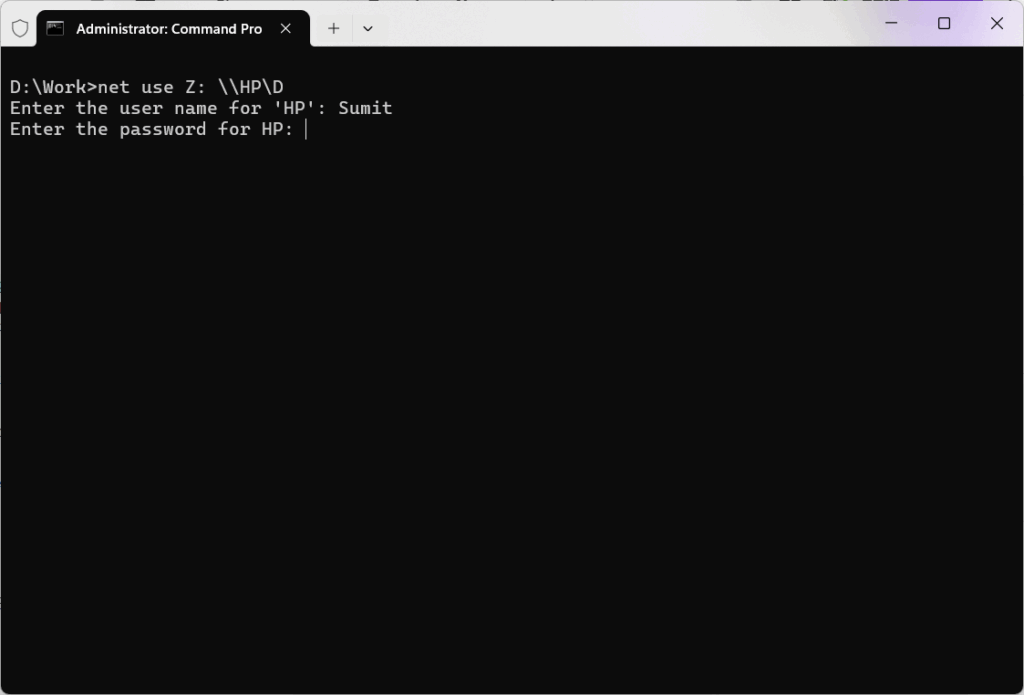
The command net use Z: \HP\D: should add a network drive D present on HP named server.
Add Credentials in the command line itself.
The command above has a problem. It does not parse the credentials into the command itself. Fortunately, Microsoft also provides a way for that:
net use Z: \\COMPUTER\ShareFiles /user:USERNAME PASSWORDSpecify the username and password of the Server as shown in the command format above.
Additionally, to make the Mapping persistent across shutdowns, use the persistent switch.
net use Z: \\COMPUTER\ShareFiles /persistent:YesMore information on Mapping the Drive
You do not need to run Command Prompt as an administrator for the mapped drive to appear in File Explorer. If you do, the mapping will only be visible to the administrator session, not your regular user session.
If you want to make it a Batch file of the following command, see below:
- Open Notepad or any text editor.
- Type the following command, replacing the placeholders with your actual details:
@echo off
:: Check for administrator privileges
net session >nul 2>&1
if %errorlevel% neq 0 (
 echo Requesting administrative privileges...
powershell -Command "Start-Process '%~f0' -Verb RunAs"
exit /b
)

net use Z: \\COMPUTER\ShareFiles /user:MYDOMAIN\AdminUser MyPassword123  /persistent:yes
- Replace the MYDOMAIN\AdminUser with the username and PC name, and MyPassword123 with the actual password.
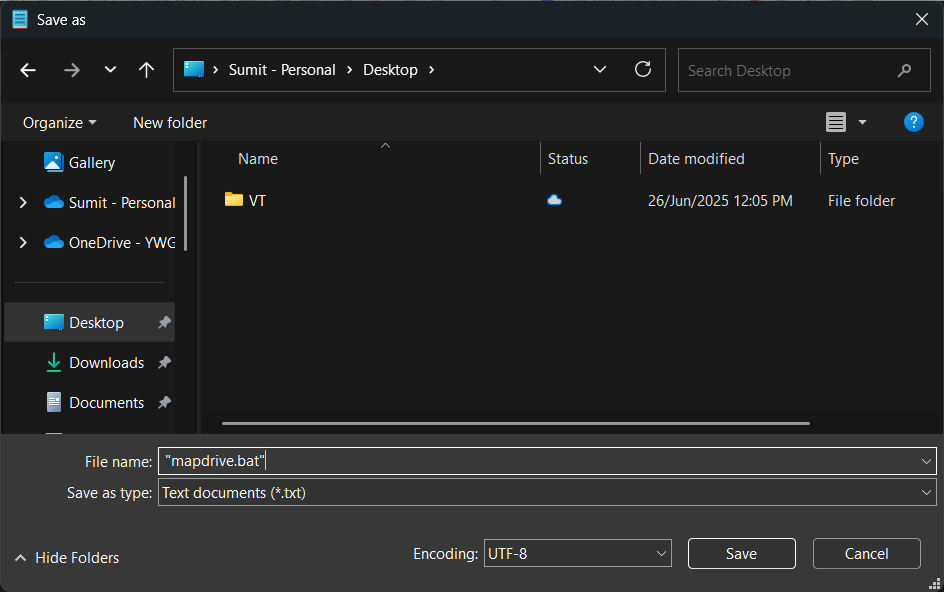
- Save the file with a
.batextension, for example:mapdrive.bat. To do that in the Save Window, add quotes to the file name, like this: “mapdrive.bat”. - Double-click the batch file to run it. The network drive will be mapped with the specified credentials and will reconnect automatically after reboot.
To conclude, these steps can help you map or add network drive in Windows 11 using CMD. If you experience issues with network sharing, ensure that the four services — Function Discovery Provider Host, Function Discovery Resource Publication, SSDP Discovery, and UPnP Device Host are running. For more information, refer to this article from Microsoft Support.


